Snippet
The Snippet allows you to create reusable content blocks that can be placed and updated across multiple pages. Ideal for headers, footers, and call-to-action banners, snippets save time by syncing changes automatically wherever they are used—ensuring consistency and efficiency across your site.
Accessing and Adding a Snippet
- Login to your WebCommander account.
- Navigate to Editor from left menu.
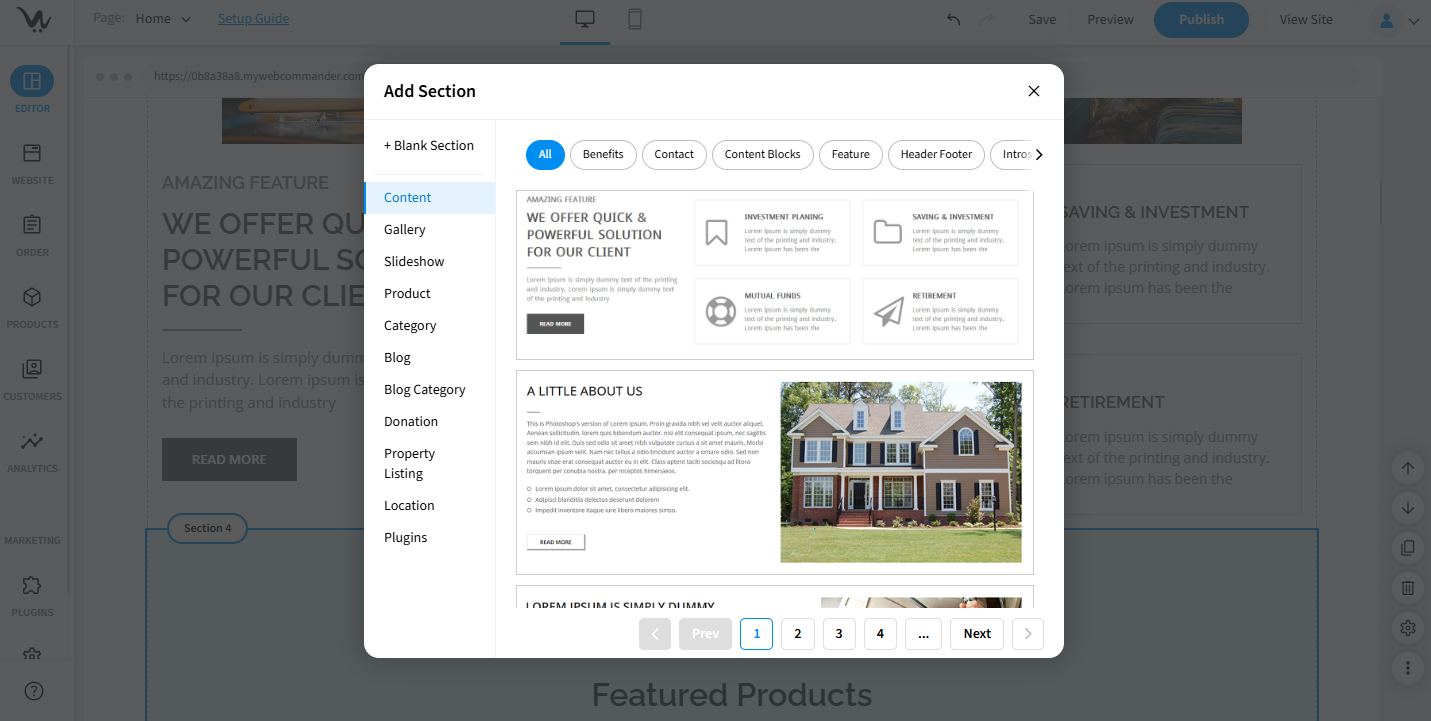
- Click + Add Section.
- From the Content list, select and insert a snippet.
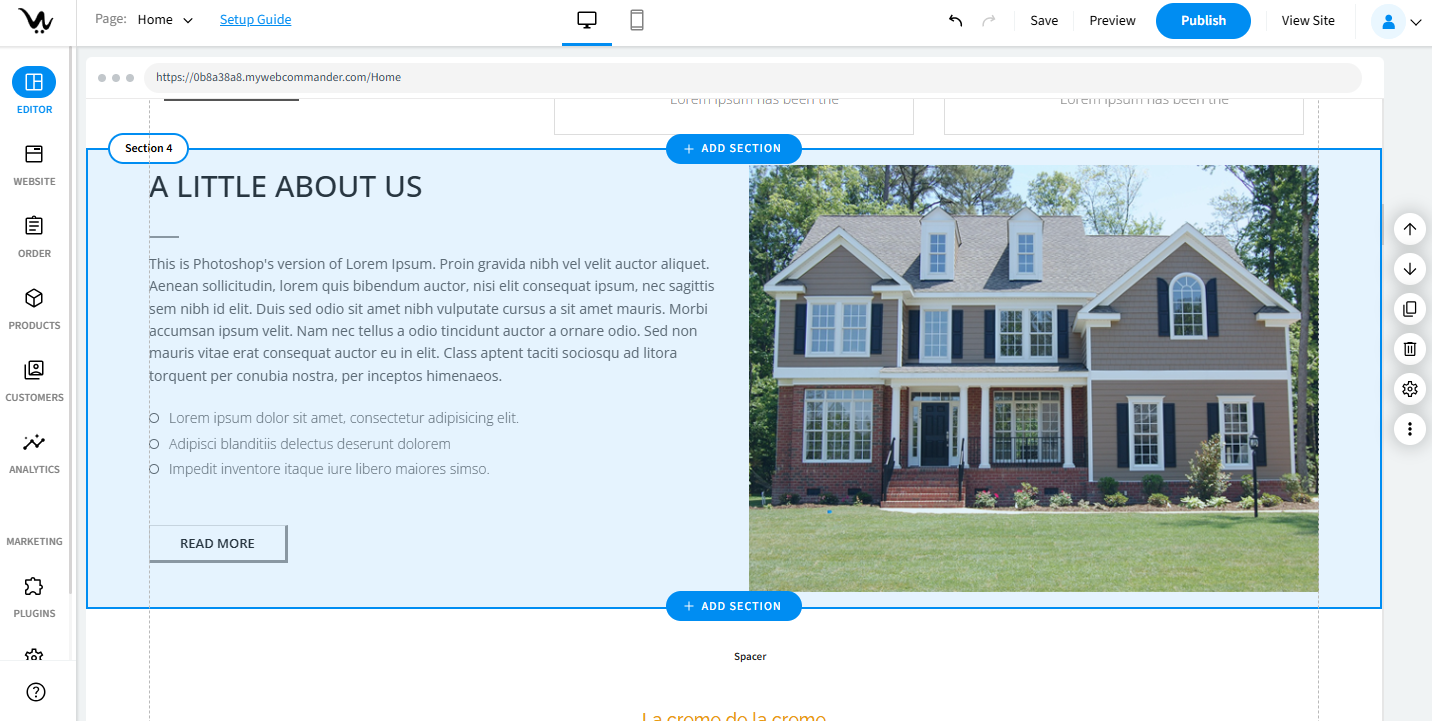
Editing Snippet Content

Double-click the snippet. Click Edit option.
- Text Content: Use the rich text editor to update content and save.
- Link or Button: Click the Link or Button inside the snippet. Update the following as needed: text, font size, alignment, link URL and how it opens (same/new tab), padding and margin, border (color, style, radius, width) and background (image or color).
- Icon: Click on the icon inside the snippet. Edit color, font size, icon graphic. link and opening behavior.
- Image: Click the Image inside the snippet.
- Change or adjust image, add alt text or captions, add hyperlink and open behavior, padding and Margin
- Container: Click on the Container area. Options include: Copy / Switch / Delete, Padding and Margin, Border (Color, Style, Radius, Width), and Background (Color or Image, Repeat, Size).
- Embedded Content: Click the embedded content. Update text/media and adjust margins.
- HTML: Click into the HTML block. Edit the code and margin settings.
Managing Snippets
Double-click the snippet in order to manage it.
- Edit Title: Click the gear icon and update the title.
- Move Snippet: Click the switch icon to move it up/down.
- Delete Snippet: Click the Delete icon and confirm deletion.
Troubleshooting Guide
- Changes not visible: Always click both Save and Publish.
- Link not working: Re-check the URL and open setting.
- Image won’t update: Re-upload the file and refresh the editor.
- Text can’t be edited: Use Edit Content instead of inline click.
- Snippet won’t move: Use the Switch icon, then refresh the editor.
- Unexpected layout issue: Reset padding/margin or check container spacing.